
Ready to turn your bird feeder into a front-row seat to nature's remarkable spectacle? With a high-quality Raspberry Pi camera and a few key components, you can embark on an immersive bird-watching experience like no other. In this detailed build guide, I'll walk you through the essential parts required to create a top-notch Raspberry Pi camera setup for your bird feeder. From the camera module and housing to the necessary cables and accessories, I've got you covered. So, roll up your sleeves and get ready to capture stunning avian moments with this step-by-step guide to building your very own bird feeder surveillance system.
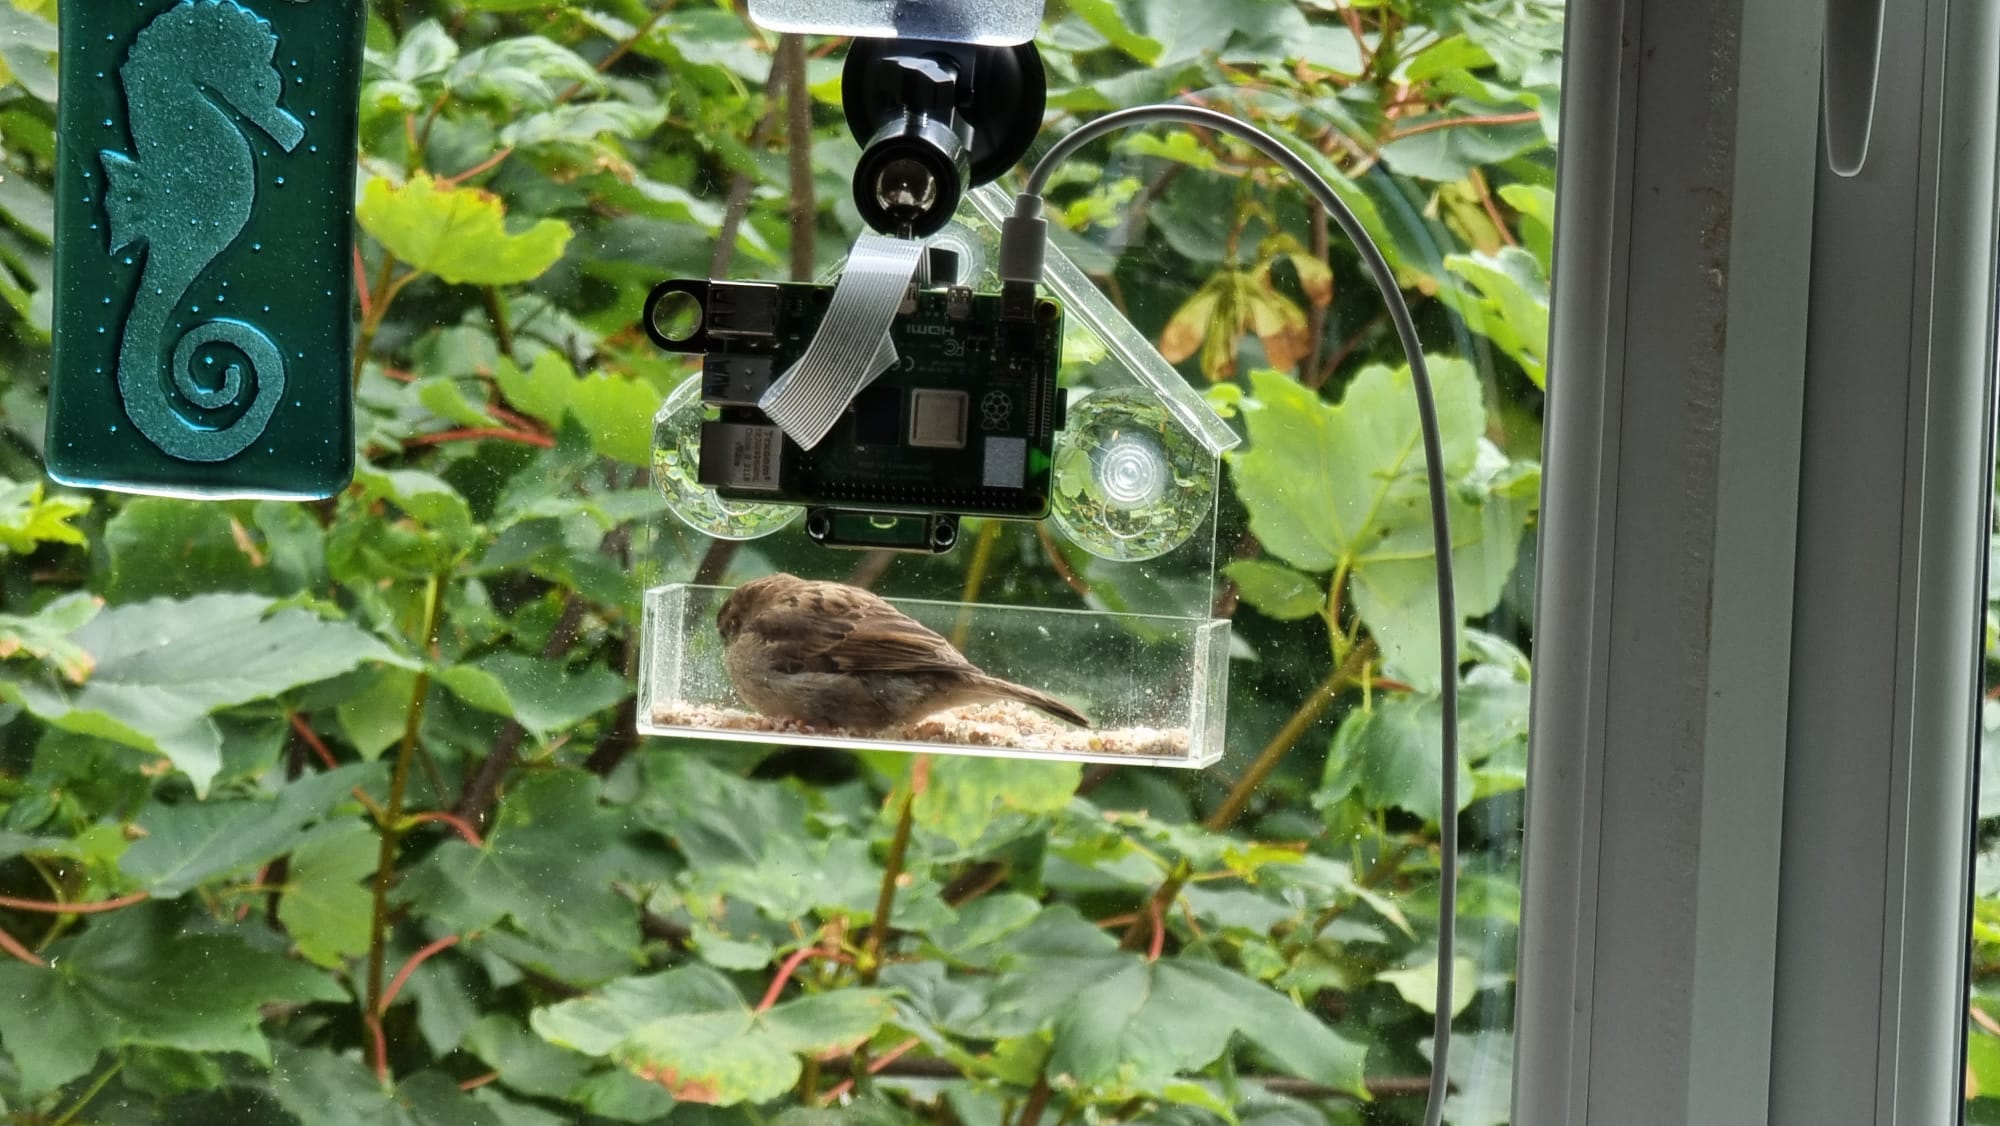
The build process for this project is straight forward and I would suggest the bird feeder camera as a good beginner project, particularly if you are interested in Raspberry Pi Cameras. The bird feeder used is a simple Acrylic Hanging Bird Feeder which attaches to a window using suction cups.
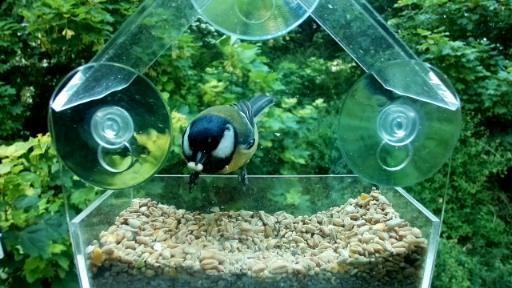
General advice regarding bird feeders, it can take time for the birds in the area to locate the new feeder and start to regularly visiting. I also recommend experimenting with different bird food mixes. Eventually, you will have regularly visiting birds. In my case, it took a few days for regular visits from a Robin, and within a week I had a range of bird species visiting.
Overview of the Raspberry Pi Camera Setup#
The project makes use of Raspberry Pi High Quality Camera Module. The camera module uses the 12.3 megapixel Sony IMX477 sensor and has a range of lens supporting M12 mounted lens or C/CS mounted lens. The High Quality Camera Module is avalible with a M12 lens version, but I recommend making use of the standard High Quality Camera Module and purchasing a M12 lens with an adaptor.
The project requires the following parts:
Required Parts and Equipment#
- Raspberry Pi 4 Model B
- High Quality Camera Module
- 90 degreen M12 Lens with M12 Lens adaptor
- Raspberry Pi Mounting Plate for High Quality Camera
- Suction Cup Window Mount for High Quality Camera
- Heavy-duty Tripod Swivel Ball Adapter
Step-by-Step Build Guide#
Attach the High Quality Camera Module to the Mounting Plate
Attach the Raspberry Pi 4 to the mounting plate
Connect the High Quality Camera Module to the Raspberry Pi 4
Connect power to Raspberry Pi
Make sure you enable the camera in the Raspi-config
Attach the lens to the High Quality Camera Module
Run the following command:
raspistill -o test.jpgConfirm the picture has successfully been taken if not resolve any error messages
- confirm the camera is enabled.
- Power down and confirm the camera is correctly connected
Switch off the Raspberry pi and unplug the power cable
Attach the Raspberry Pi Mounting Plate to the Swivel ball adaptor
Attach to the suction cup mount
Line up to the ideal location on the window
Take test images to check positioning and focus

Monitoring and Recording Bird Feeder Activity#
While being able to take images via the terminal is an option, you will want a solution to automatically capture images and videos. There are two approaches I have used with the bird feeder and I continue to use both.
RPi Cam Web Interface#
The RPi Cam Web Interface is a great web interface for controlling a Raspberry Pi camera. I personally find this fantastic for setting up the Raspberry Pi, as I can use my mobile to check that the camera is lined up.
In addition, you can set up motion detection. Motion detection enables the camera to record videos when the bird feeder is in use.
The main challenge with depending on motion detection I struggled with was the moving background. Windy days would cause the motion detection to activate and record the trees in the background. The sensitivity being reduced would result in birds landing but not moving enough to keep the motion detection running.
However, if you want to grab a picture or video when you happen to be watching, then you can get some great footage. Just make sure you switch off the camera in RPi Cam Web Interface before you try Live Streaming.
YouTube Live Streaming#
I have tried out YouTube Live Streaming. This is great for being able to directly share the bird feeder with Family and Friends. The first time you set up a YouTube Live Stream there is a 24 hour wait period for YouTube to approve. Once YouTube has approved, you will be provided with a Stream key to send the video stream to.
I have had mixed success with YouTube Live Streaming. I may have to follow this blog post with a Part 2 for YouTube Live Streaming guide, once I finally have a solution in place that reliably works.
Optimising Performance and Image Quality#
Whilst the Raspberry Pi 4 is great, it can struggle with 1080p recording. Often, it may drop frames to optimise footage for recording video. To enhance performance and achieve better image quality, consider adjusting the camera settings to lower resolutions, such as 720p. Lower resolutions generally require less processing power and may lead to smoother recordings. Additionally, ensure that your Raspberry Pi is running on the latest software updates, as these updates may include performance improvements. Experimenting with different camera settings can help strike a balance between performance and image quality, ensuring you capture those precious bird feeder moments with optimal results.
I have found the following command to be the most reliable for YouTube Live Streaming:
raspivid -o - -t 0 -vf -hf -w 1280 -h 720 -fps 30 -b 20000000 -a 12 -ae 48,0x0,0x0,0x0 | ffmpeg -re -ar 44100 -ac 2 -acodec pcm_s16le -f s16le -analyzeduration 2147483647 -probesize 2147483647 -ac 2 -i /dev/zero -f h264 -i - -vcodec copy -acodec aac -ab 96k -g 60 -strict experimental -f flv rtmp://a.rtmp.youtube.com/live2/ADD-STREAM-KEY-HERERaspivid Command Breakdown Explaination for Video Capture#
- raspivid: This is the command to capture video with the Raspberry Pi camera.
- -o -: Specifies that the output should be sent to stdout.
- -t 0: Sets the recording time to 0, indicating continuous recording until stopped.
- -vf -hf: Flips the video vertically and horizontally to correct the camera orientation.
- -w 1280 -h 720: Sets the resolution to 1280x720 (720p).
- -fps 30: Sets the frame rate to 30 frames per second.
- -b 20000000: Sets the bitrate to 20,000,000 bits per second for high-quality streaming.
- -a 12 -ae 48,0x0,0x0,0x0: Adds an annotation overlay with the current date and time.
FFMPEG Command Breakdown Explaination for Video Stream#
- ffmpeg: A multimedia framework used to handle the video stream.
- -re: Tells ffmpeg to read input at the native frame rate.
- -ar 44100: Sets the audio sampling rate to 44100 Hz.
- -ac 2: Sets the number of audio channels to 2 (stereo).
- -acodec pcm_s16le: Specifies the audio codec as PCM 16-bit little-endian, which provides uncompressed audio.
- -f s16le: Sets the output audio format to s16le (16-bit little-endian).
- -analyzeduration 2147483647 -probesize 2147483647: Sets the maximum analysis duration and probe size to very large values, allowing better handling of audio streams with variable durations.
- -i /dev/zero: Specifies the input source as /dev/zero, which is a special device that provides an endless stream of null data (silent audio) in this context. This is used to ensure that the audio input is generated even if no audio source is connected.
- -f h264: Sets the input format to H.264 video codec.
- -i -: Specifies the input source as standard input, which allows the video to be piped from another command (in this case, the raspivid command output).
- -vcodec copy: Copies the video codec from the input source without re-encoding, preserving the original video quality and reducing CPU usage.
- -acodec aac -ab 96k: Sets the audio codec to AAC and the audio bitrate to 96k for compressed audio output.
- -g 60: Sets the group of picture (GOP) size to 60 frames, which is important for live streaming to achieve optimal compression and network transmission efficiency.
- -strict experimental: Enables experimental features of the AAC codec.
- -f flv rtmp://a.rtmp.youtube.com/live2/ADD-STREAM-KEY-HERE: Specifies the output format as FLV and the destination as the YouTube Live stream URL. Replace ADD-STREAM-KEY-HERE with your actual YouTube Live stream key.
This comprehensive setup optimizes the Raspberry Pi camera settings and audio configuration, ensuring reliable YouTube Live Streaming and smooth transmission of your bird feeder footage to your online audience.
Bird Feeder Moments#
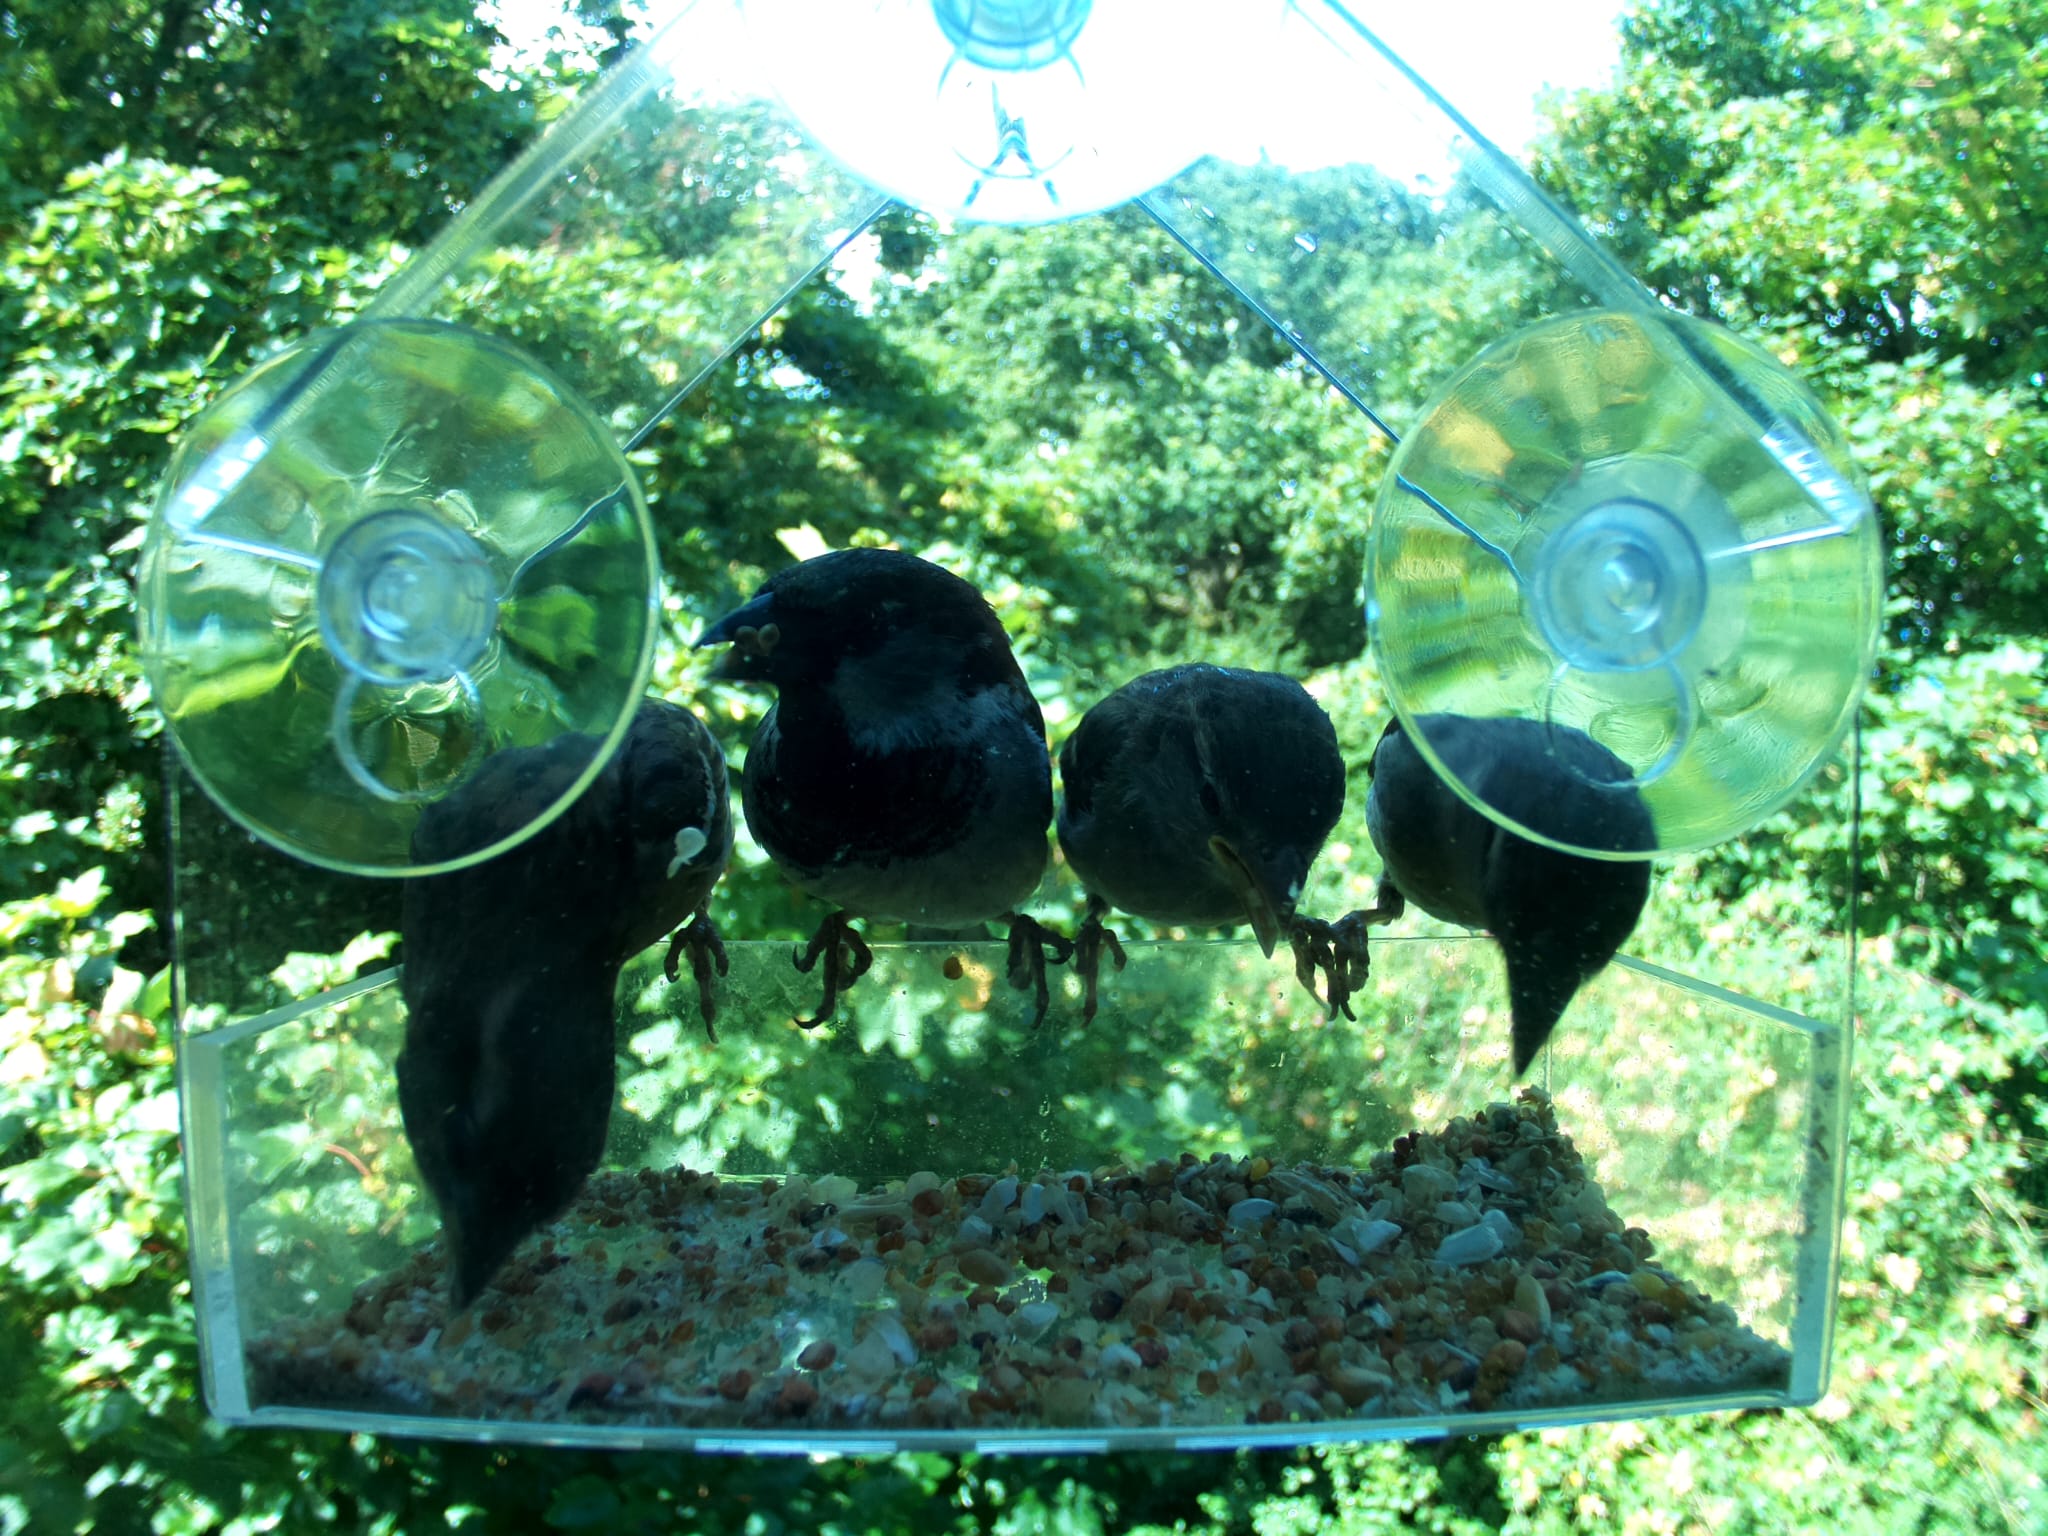
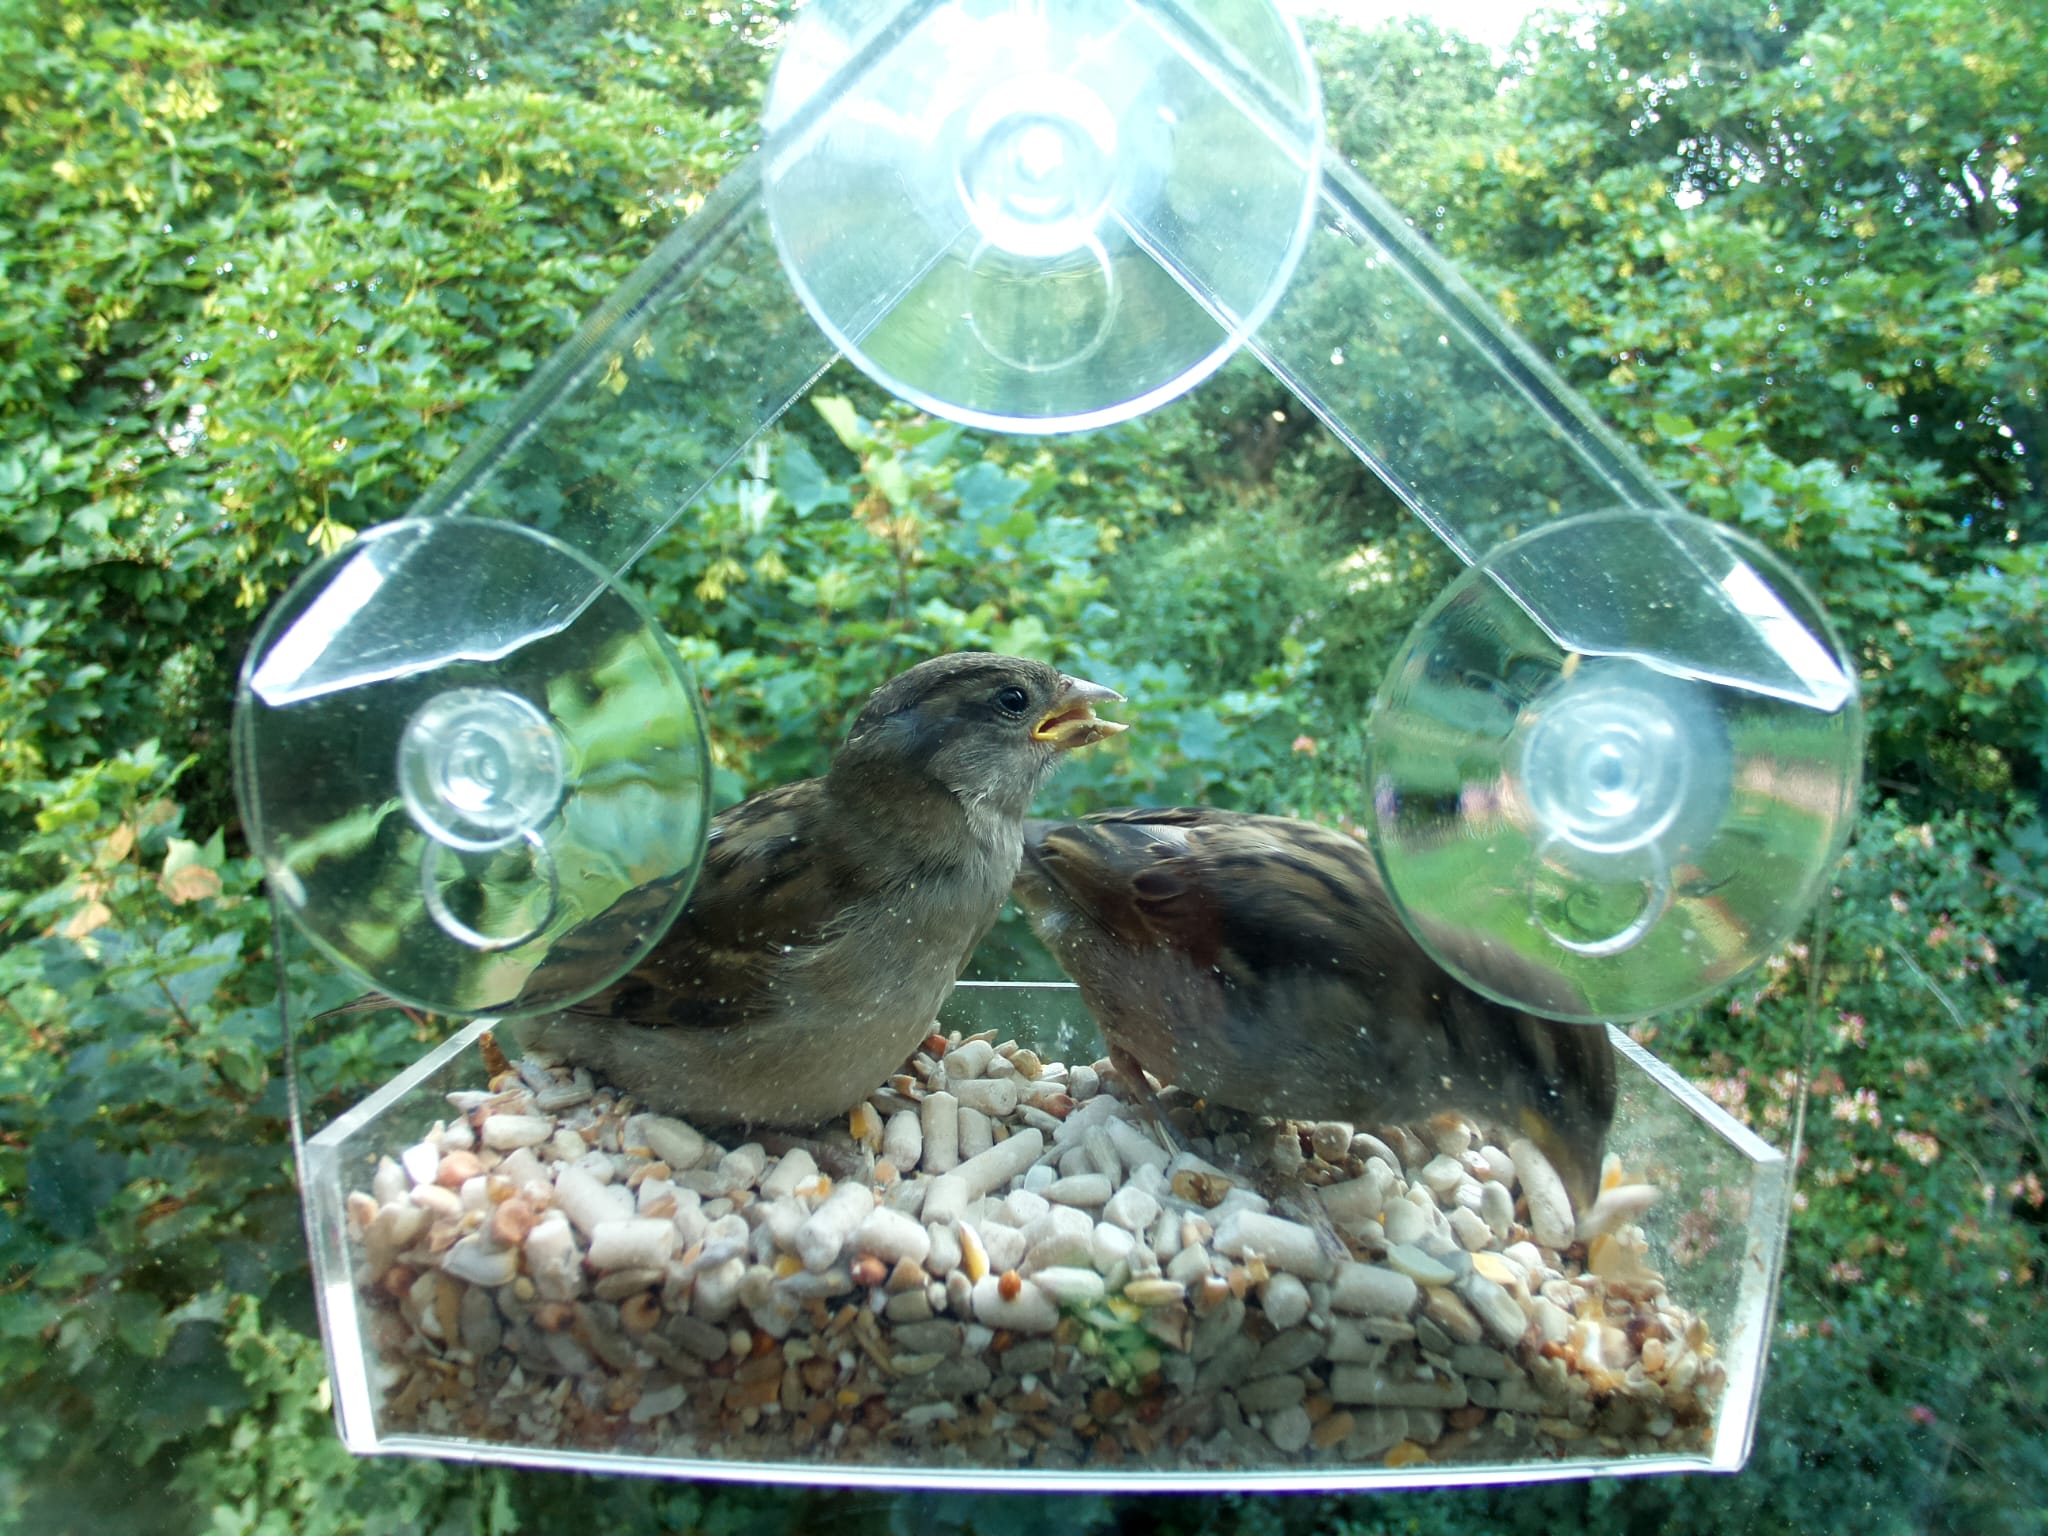
The sparrows took a few weeks to become brave enough to try out the bird feeder. These days I get a lot of sparrows, and often enjoy watching them fight over the bird feeder. I did manage to get to watch four sparrows sharing the feeder.
Conclusion#
Personally, I got a lot of joy from this project. A very rewarding camera project to build and enjoy. The mount has worked well, so far I have only had one incident where it came away from the window.
I would recommend trying a bird feeder camera out if you want to learn more about using the Raspberry Pi High Quality Camera Module. I have had an interesting experience getting YouTube Live Streaming set up. The main challenge I have found has been more on the YouTube side, with live stream feeds sending data, but having to load into the YouTube Live Stream creator page to get the stream to start or update the settings as the Stream randomly defaults to 'unlisted'.